Investing in professional landscape installation is an exciting step toward creating your ideal outdoor space. However, the success of your project depends not just on your landscaper’s expertise but also on how well you prepare before they arrive. For homeowners in Northeast Ohio, preparing for landscape installation is essential for a smooth, efficient process that delivers beautiful results.
Whether you’re planning a complete yard transformation, installing new garden beds, or adding hardscaping elements, this guide will show you exactly what to do in the weeks and days leading up to your landscape installation.

By following this prep checklist from Lifestyle Landscaping, you’ll ensure installation day is smooth, fast, and mess-free. This allows your landscape professionals to work efficiently while protecting your property and setting the stage for a stunning outdoor space.
What is Landscape Installation Prep and Why Does It Matter?
Landscape installation prep refers to the steps homeowners should take before professional landscapers arrive to install new features or renovate existing outdoor spaces. This preparation is necessary to ensure efficiency, safety, protection of existing features, and quality results. For Northeast Ohio homeowners, where weather conditions can change rapidly and the installation season is limited, being thoroughly prepared helps maximize your landscaper’s productivity.
Step-by-Step Preparation Timeline
2-4 Weeks Before Installation
Secure Permits and Approvals
- HOA/ARB Approvals: If you live in a neighborhood with a Homeowners Association or Architectural Review Board, submit your landscape plans for approval well in advance.
- City Permits: Check with your local municipality about permit requirements for:
- Tree removal (especially for protected species)
- Drainage work
- Retaining walls over a certain height
- Water features
In Northeast Ohio communities, permit requirements vary significantly between cities like Westlake, Avon, and Chagrin Falls, so check with your specific municipality.
Schedule Utility Locating Services
- Call 811 (Ohio Utilities Protection Service) at least 3-5 business days before any digging is scheduled.
- Utility companies will mark the location of underground lines with colored flags or paint.
- Take photos of these markings and ensure they remain visible until installation is complete.
- Remember that private utilities, such as irrigation lines, invisible pet fences, or landscape lighting, may not be marked by 811 services.
Gather Property Documentation
- Property Survey: Your most recent property survey.
- Drainage Information: Areas that tend to collect water, basement leaks, or downspout issues.
- Irrigation System Details: Controller location, valve boxes, and any as-built plans if available.
7-10 Days Before Installation

Plan for Site Access
- Clear a 10-12-foot-wide path for equipment access to work areas.
- Remove or unlock gates and consider temporarily removing gate hardware that limits width.
- Identify and mark low-hanging wires, septic lids, well heads, or invisible fence boundaries.
Designate Material Staging Areas
- Identify a flat, accessible area where pallets of materials can be placed (a driveway is ideal)
- Move vehicles to allow vehicle access to the staging area.
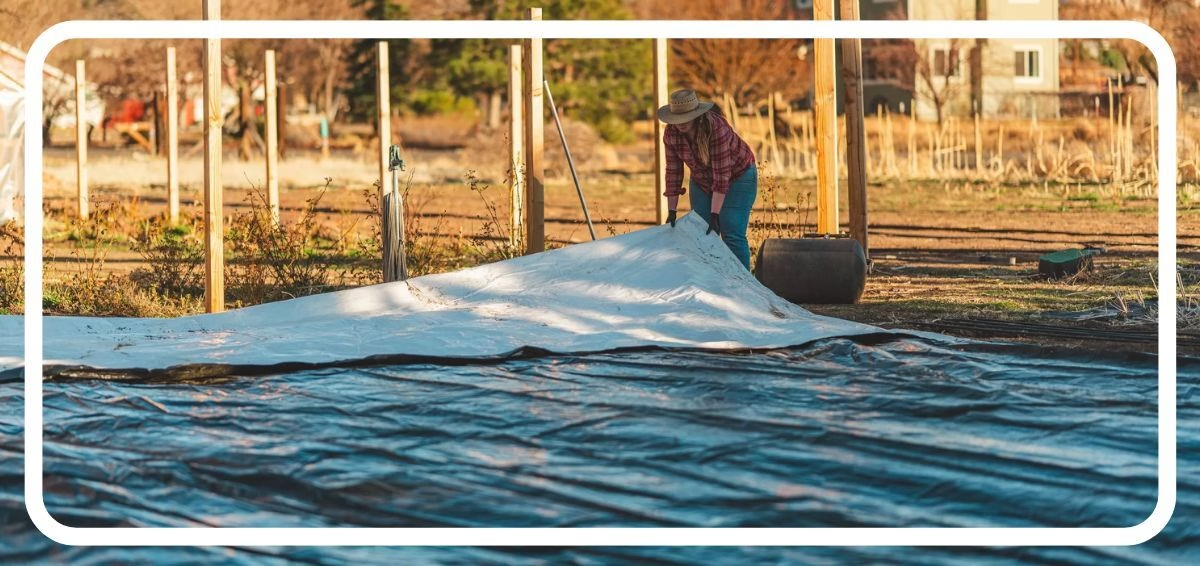
- Consider covering areas of lawn that might be damaged by heavy materials.
Protect Existing Features
- Tag plants, boulders, lighting, or yard art that should not be disturbed with bright ribbon.
- Remove fragile decorative items.
- Consider temporarily relocating potted plants or garden ornaments.
Make Arrangements for Pets and Children
- Plan to keep pets either indoors or in a separate area of your yard.
- Discuss the project timeline with family members, especially if you have children who play outdoors.
- Consider temporary fencing around work zones.
Notify Neighbors
- Let neighbors know about potential noise, truck traffic, or street parking.
- If equipment needs to cross a neighbor’s property line, get permission in advance.
- Consider providing a basic timeline so neighbors know what to expect.
Ensure Access to Utilities
- Make sure outdoor water spigots are functioning.
- Ensure at least one exterior GFCI outlet is available and working.
- Provide necessary access codes, lockbox information, or security system instructions.
Finalize Material Decisions
- Confirm colors, paver patterns, edging types, and mulch/stone choices.
- Discuss potential plant substitutions if specific varieties are unavailable.
- Review the final design plan.
2-3 Days Before Installation
Clear the Work Area Completely
- Move outdoor furniture, grills, play sets (if movable), and trampolines.
- Remove hoses, toys, and clean up pet waste.
- If sod removal is planned, mow your lawn shorter than usual for easier removal.
Mark Hidden Lines and Features
- Refresh any faded utility markings from the 811 service.
- Use flags to mark sprinkler heads, valve boxes, drip lines, and landscape lighting wires.
- Mark invisible dog fence boundaries with flags or paint.
Prepare for Dust and Dirt
- Close windows near work areas.
- Move or cover items in garages near work zones.
- Consider using plastic sheeting to protect air conditioning units or outdoor equipment.
Reserve Parking Space
- Clear space in your driveway or along the curb for trucks and trailers.
- If a dumpster will be delivered, have a space ready.
Prepare for Payment
- Confirm payment milestones and amounts.
- Review any final paperwork that needs to be completed.
The Day Before Installation
Confirm Start Time and Contacts
- Verify the expected arrival time of the crew.
- Exchange phone numbers with the crew leader or project manager.
- Note any time constraints, such as school bus schedules or delivery conflicts.

Prepare Access Points
- Unlock gates and disable auto-locks during work hours.
- Secure pets indoors or in contained areas away from work zones.
- Remove vehicles from driveways or areas where equipment needs access.
Turn Off Irrigation Systems
- Disable automatic irrigation programs until the project is complete.
- Make note of any manual watering you’ll need to perform for plants not in the work zone.
- Ask your landscape team when irrigation can be resumed after installation.
Provide Final Instructions
- Text or email any last-minute clarifications about plant placement, lighting preferences, etc.
- Leave contact information where you can be reached during the day.
- Indicate any areas that are strictly off-limits to crews or equipment.
Tips and Reminders for a Smooth Installation
1. Document Your Property Before Work Begins
Take “before” photos of your property from multiple angles. These serve as valuable documentation if any disputes arise and will make your “after” photos even more impressive.
2. Create Temporary Signage
If you live on a narrow street or in an area with limited parking, consider placing “Construction Parking OK” signs or traffic cones to reserve space for landscape vehicles.
3. Have a Weather Contingency Plan
In Northeast Ohio’s climate, weather delays are possible. Discuss with your landscape team how rain or extreme temperatures might affect your timeline and what the backup plan will be.
4. Prepare for Post-Installation Care
Ask your landscape team how to care for your new plants, sod, or hardscape elements.
5. Keep Communication Lines Open
Maintain regular contact with your project manager throughout the installation process. Address any concerns immediately rather than waiting until the project is complete.
Ready to Transform Your Outdoor Space?


Proper preparation for landscape installation is an investment that pays dividends in efficiency, quality results, and peace of mind. By following this comprehensive checklist in the weeks and days leading up to your installation, you’ll create the best conditions for your landscape professionals to work their magic.
When you work with Lifestyle Landscaping, an installation is a collaborative process. Your preparation helps ensure that your outdoor space is transformed without any delays, and Lifestyle Landscaping will handle some of the major preparations for you. We will call OUPS to flag all utilities on your property, prep the site for hard-material deliveries, coordinate logistics, and obtain any necessary permits from the city.
Want to see how we can transform your backyard? Contact Lifestyle Landscaping to see what our expert team can do. We specialize in luxury landscape design and installation throughout Northeast Ohio, bringing decades of experience and award-winning craftsmanship to every project. From initial consultation through final installation, we’ll guide you through each step of creating your dream landscape, starting with proper preparation for a smooth, efficient installation process.
FAQ
How far in advance should I start preparing?
Begin 2–4 weeks out to allow time for HOA approvals, permits, and 811 utility locates.
Do I need permits for landscaping?
It depends. You sometimes do need permits for tree removal, drainage work, tall retaining walls, and water features. Requirements vary by Northeast Ohio municipality. Check locally.
What should I do about irrigation systems?
Mark sprinkler heads/valves and turn off automatic programs the day before installation.
Will heavy equipment damage my driveway or lawn?
Staging plans, protective mats, and clear access paths reduce risk; ask your contractor how they’ll protect surfaces.
What if weather delays the project?
Build a contingency plan with your contractor; Ohio’s variable weather may shift dates to protect quality and safety.
